Rodent-Chewed Wiring vs a Failed Module
Two very different problems, one identical symptom set
A customer calls with a 2016 truck. The dash lit up all at once — ABS, traction, airbag, check engine, a couple of warnings he had never seen before. The truck cranks but will not start, or starts sometimes. His scan tool reports no communication with three modules. Somebody told him the body control module had failed, so he bought a used one off an auction site and wants it programmed.
Roughly a third of the time, that call is a genuine module failure. The rest of the time it is a wiring problem, and a meaningful share of those wiring problems are rodents.
This is the single most expensive misdiagnosis in mail-in module work, because everything about it points the wrong way. Multiple unrelated warning lights feel like a central failure. Modules that will not answer feel like dead modules. Faults that come and go with temperature or vibration feel like a failing circuit board. All of those symptoms are equally consistent with a mouse having spent a January week eating the insulation off a bundle of wires behind the engine.
The purpose of this article is to give you a real sequence for telling the two apart before you spend money. Not a checklist of guesses — an actual inspection and test order that will resolve most of these cases in an afternoon.
Why rodents target modern vehicles
Two reasons, and only one of them is controversial.
The uncontroversial reason is shelter. An engine bay is warm for hours after shutdown, it is dry, it is enclosed, it is above ground level, and it is full of soft material — sound deadening, insulation, cabin filter media, hood liner — that makes excellent nesting material. A parked vehicle in a cold month is, from a rodent's perspective, a well-built house with a heater that runs on a timer. Vehicles that sit for weeks are far more attractive than daily drivers, which is why seasonal cars, work trucks, RVs, and second vehicles account for a disproportionate share of the damage we hear about.
The second reason is the material itself. Over the past two decades, bio-derived and plant-based polymers moved from novelty into mainstream industrial use, including in wire insulation and cable jacketing. The U.S. Department of Agriculture runs a federal bio-based product program precisely to encourage that substitution, and the automotive supply chain adopted it broadly. Whether soy-based insulation is genuinely more palatable to rodents than older petroleum formulations is argued about — manufacturers dispute it, plaintiffs' attorneys assert it, and the honest technical answer is that rodents chew insulation of all kinds and always have, because gnawing is a physiological necessity rather than a taste preference. Owner reports of rodent-chewed wiring show up across many makes and model years in the public vehicle-owner complaint database maintained by the National Highway Traffic Safety Administration, which is a reasonable indication of how widely distributed the problem is rather than proof of any one material being at fault. Rodent incisors grow continuously and must be worn down, which is why they chew things they do not eat.
What is not arguable is the consequence. Centers for Disease Control and Prevention guidance on rodent control notes how quickly a population establishes itself — a single female house mouse can produce on the order of five to ten litters in a year — so a vehicle that is attractive in November can be hosting a colony by February. And the damage scales with how much wire there is to chew. SAE International has documented the growth of vehicle electrical architecture for years; a contemporary vehicle carries roughly one to three miles of wire and thousands of individual electrical connections, with electronics accounting for a large and rising share of total vehicle content value. There is simply far more to destroy than there was on a 1990s car.
The evidence, if you actually look
Rodent damage is one of the few automotive faults that leaves obvious physical evidence, and it is astonishing how often nobody checks.
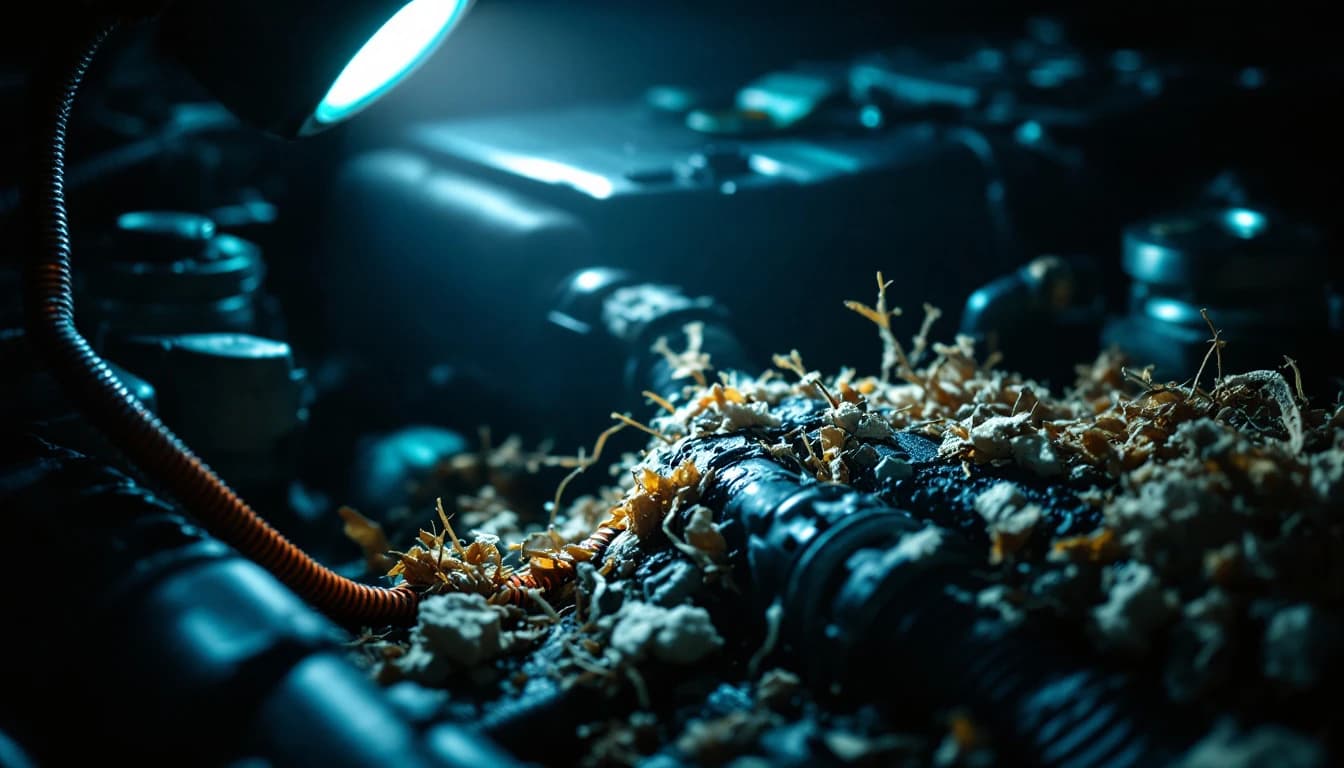
Nesting material. Look in the airbox first. Pull the cabin air filter. Check on top of the intake manifold, under the cowl, in the space above the engine cover, in the spare tire well, and inside the fender liners. Shredded insulation, leaves, dryer lint, pet hair, chewed foam, seed hulls, and shredded paper are all classic nest material. A nest found in the airbox is essentially a confirmed diagnosis.
Droppings. Small dark pellets on top of the battery, along the frame rails, in the engine valley, or on the floor beneath where the vehicle parks. Treat droppings as a biohazard, not a curiosity — wear gloves and a mask, and do not dry-sweep them. CDC guidance on cleaning rodent-contaminated areas is worth reading before you start.
Smell. Rodent urine has a sharp, distinctly acrid ammonia smell that concentrates in enclosed spaces. If the vents smell wrong when the fan comes on, check the cabin filter housing and the evaporator box.
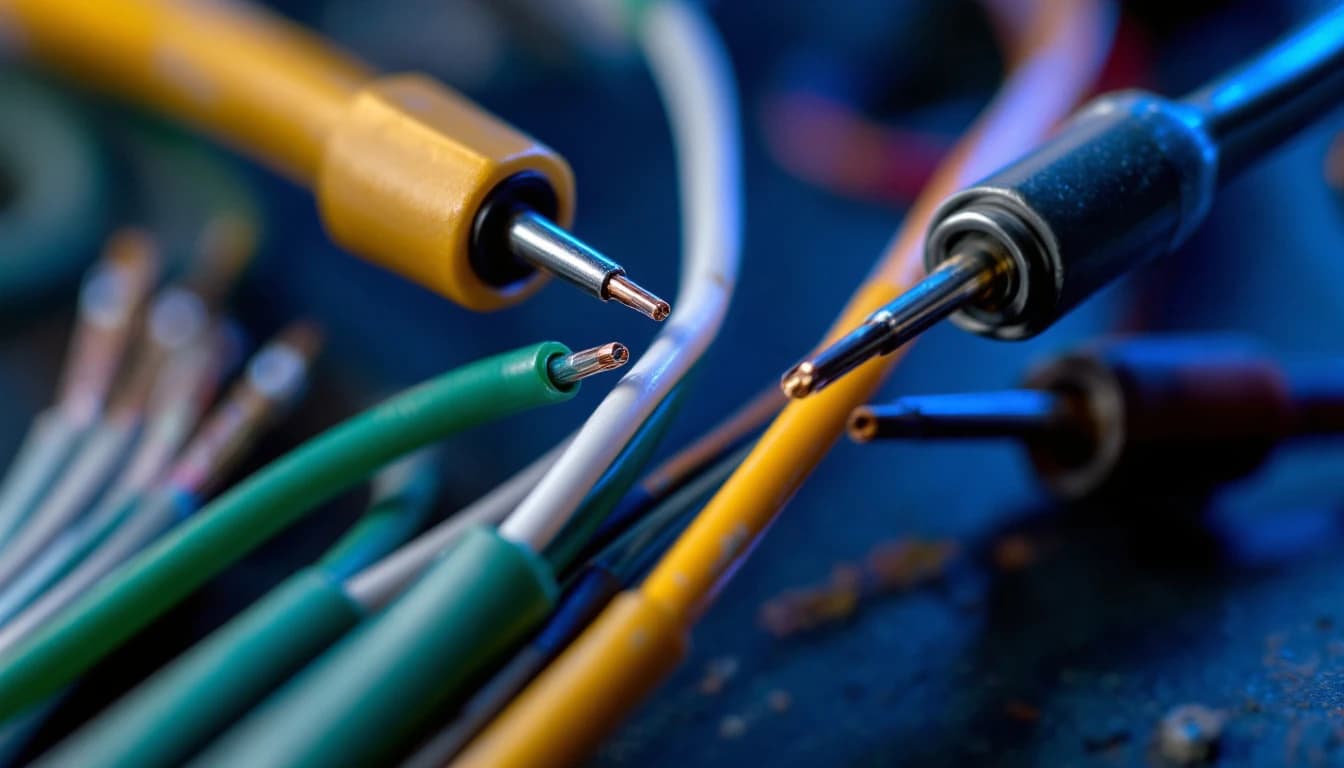
Chewed insulation and bare copper. This is the direct evidence. Follow the harness runs with a light and your fingers: along the engine bay bulkhead, behind and beneath the engine, along the frame, through the firewall grommets, up the A-pillars, and under the dash. Look specifically for the corrugated conduit being opened up, for wire bundles with a section of tape or loom missing, and for the bright glint of exposed strands. Gnaw marks on plastic covers, hoses, and connector shells are corroborating evidence even where the wires themselves survived.
Under-dash and in-cabin. Do not stop at the engine bay. Rodents get into cabins through firewall grommets, cowl drains, and blower housings, and the under-dash harness runs are dense, unprotected, and easy to reach. The body control module, instrument cluster, and gateway connections all live in that space.
The four electrical outcomes
Once insulation is gone, the fault lands in one of four categories, and the category determines the symptom.
1. Open circuit. The wire is severed. Whatever it fed stops working. This is the cleanest and easiest case, because the failure is total, consistent, and repeatable. A single dead circuit with a clear, reproducible symptom is not usually a module problem.
2. Short to ground. Bare conductor touches chassis or a grounded bracket. Depending on the circuit this blows a fuse, drags a signal line to zero, or pulls down a supply rail. Symptoms tend to be dramatic and may include repeat fuse failures, which is a strong tell — a module that fails internally rarely blows the same fuse three times in a row.
3. Short to power. Two bared conductors touch each other, and a switched or battery feed backfeeds into a signal circuit. This is the one that genuinely damages modules. Applying twelve volts to an input designed for a five-volt or bus-level signal can destroy the receiving device, which is why some rodent jobs really do end with a dead module — but the module died because of the harness, and replacing it without repairing the harness kills the replacement too.
4. CAN bus damage. The worst case for diagnosis, and common, because the bus wires run everywhere. A chewed, shorted, or partially severed CAN-H or CAN-L takes down communication for every module on that segment at once.
Why a chewed CAN wire makes healthy modules look dead
This is the mechanism that fools people, so it is worth explaining properly.
High-speed CAN as defined in the ISO 11898 series published by the International Organization for Standardization is a two-wire differential bus. Data is encoded as the voltage difference between CAN-H and CAN-L, not as an absolute level on either one, which is exactly what gives CAN its famous noise immunity in a vehicle. The bus is terminated at both physical ends with a resistor — nominally 120 ohms each — so that with the vehicle at rest and the ignition off, measuring between the CAN-H and CAN-L pins of the diagnostic connector should read the two terminators in parallel: approximately 60 ohms.
That single measurement is the most useful thirty seconds in this entire diagnosis, and almost nobody takes it.
Now consider what happens when a rodent opens up the bus pair. If CAN-H and CAN-L short together, the differential signal collapses to zero and no module on the segment can transmit or receive. If either line shorts to ground or to battery, the differential relationship is destroyed the same way. If one line is partially severed — a few strands still connected — the bus may work when cold and fail when the remaining strands expand, or work at rest and fail over a bump.
In every one of those cases, a scan tool plugged into the standard diagnostic connector reports the same thing: no communication with a list of modules. The modules themselves are perfectly healthy. They are powered, they are running, they are trying to talk. They just cannot be heard, because the wire that carries their voice has been eaten.
Read a fault list like that carefully and the pattern usually gives itself away. A group of modules that all went missing at once, that have nothing functionally in common but do share a bus segment, is a wiring pattern, not a failure pattern. Real module failures are almost always singular. Three modules do not die on the same Tuesday.
"The tell I trust most is the shape of the fault list. One module gone, that is a module. Four modules gone that happen to sit on the same bus branch, that is a wire, every single time. I have had customers show up holding a brand-new part they already paid to have programmed, and the nest is still sitting in the airbox where anybody could have found it in thirty seconds." — Independent automotive electrical diagnostic technician, 22+ years in driveability and network faults (anonymized)
Symptom overlap: what actually distinguishes them
| Observation | Points toward harness / rodent damage | Points toward a failed module |
|---|---|---|
| Number of modules missing from the bus | Several at once, sharing a bus segment | Usually one, consistently the same one |
| Fault pattern over time | Intermittent, changes with temperature, vibration, or road bumps | Stable and repeatable, or a hard permanent failure |
| Fuses | Repeat blown fuses on one or more circuits | Fuses normally intact |
| DLC resistance across CAN-H and CAN-L | Reads far from the nominal 60 ohms, or changes when wires are moved | Reads close to nominal even with the module unplugged |
| Physical evidence | Nesting material, droppings, acrid smell, bare copper, chewed loom | None |
| Behavior when the suspect module is unplugged | Bus faults persist or barely change | Bus often recovers, or the fault set changes cleanly |
| Effect of a wiggle test on the harness | Symptom appears or disappears on demand | No response to harness movement |
| Symptoms across unrelated systems | Common — ABS plus airbag plus HVAC plus lighting | Limited to that module's functional domain |
Read that table as a weight-of-evidence exercise rather than a single decisive test. Three rows pointing at the harness is a harness.
The inspection and diagnostic sequence
Work in this order. It goes from cheapest to most expensive, and most cases resolve in the first two steps.
Step 1 — Full visual sweep, no tools. Airbox, cabin filter, cowl, engine valley, top of the transmission, fender liners, spare tire well, under-dash. You are looking for nest material, droppings, chewed loom, and bare copper. Use a bright light and a mirror or a borescope for the areas you cannot see directly. Budget twenty minutes and actually spend them. If you find a nest, you have your answer and the rest of the sequence becomes a scoping exercise: how far did the damage go?
Step 2 — Follow the harness runs. Where a nest exists, the damage is usually within a foot or two of it, but not always. Open the loom and tape along the runs nearest the nest and inspect wire by wire. Pay attention to bundles crossing the firewall, the run down to the ABS unit, the injector and sensor sub-harnesses, and anything routed along the top of the transmission where it is warm.
Step 3 — Wiggle test with the fault present. If the symptom is live, move the harness section by section while watching for the fault to change. A partially severed wire is a mechanical contact, and mechanical contacts respond to mechanical input. This is the fastest way to convert an intermittent into a repeatable one.
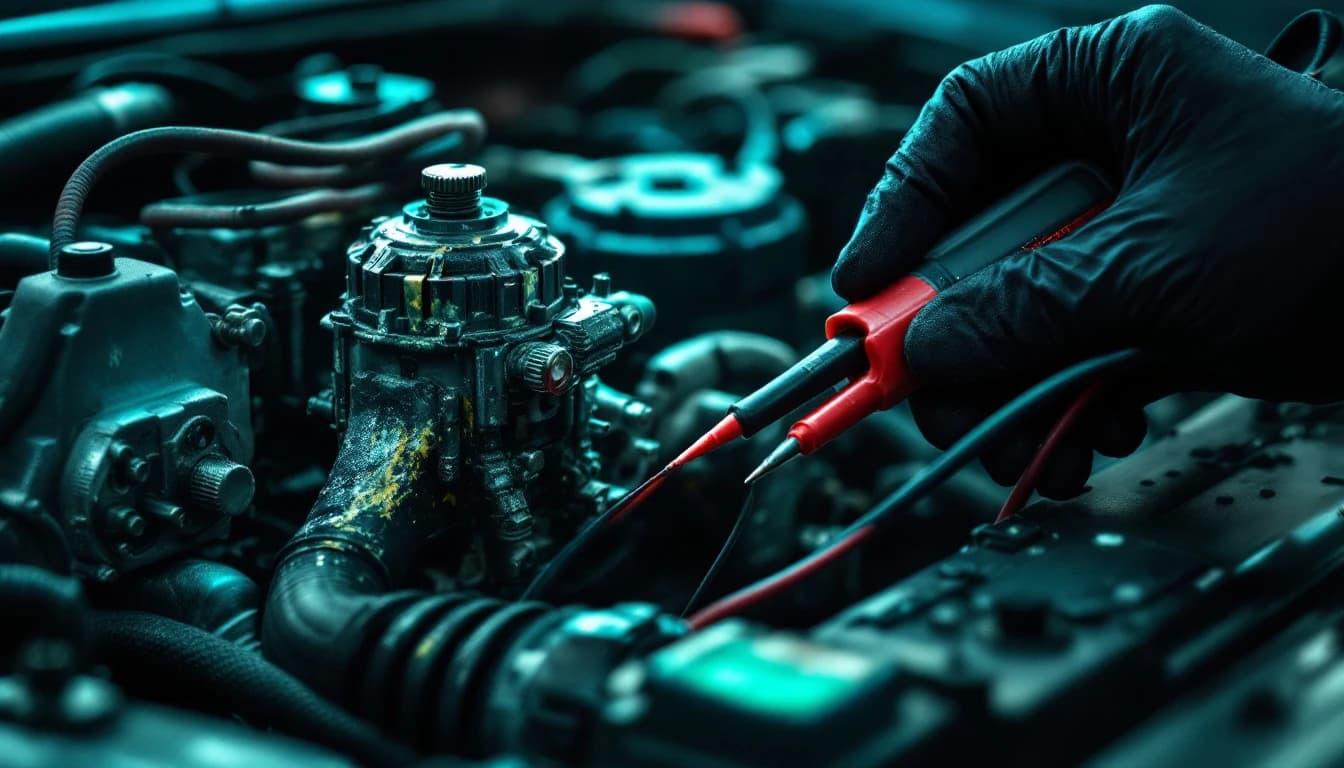
Step 4 — Measure bus resistance at the diagnostic connector. Key off, ignition off, and give the vehicle a few minutes to go to sleep. Measure between CAN-H and CAN-L at the standard diagnostic connector defined under the SAE International J1962 connector standard. Roughly 60 ohms is nominal for a healthy, correctly terminated high-speed segment. Around 120 ohms suggests one terminator or one end of the bus has been lost. A very low reading suggests the two lines are shorted together. A very high reading or an open suggests the pair is severed. Repeat the measurement while flexing suspect harness areas — a reading that moves is a diagnosis.
Step 5 — Isolate by disconnection. With the bus faulted, disconnect modules one at a time and re-measure and re-scan after each. If unplugging a single module restores sane bus resistance and communication returns for everything else, that module or its branch is dragging the bus down. If you disconnect every module on the segment and the bus is still wrong, the fault is in the wiring between them, not in any module.
Step 6 — Compare who answers. Note precisely which modules respond and which do not, then map them against the vehicle's network topology. Modules on one segment gone while another segment is entirely healthy narrows the search to that branch and its gateway path. This is where a wiring diagram earns its keep.
Step 7 — Only now consider the module. If the harness is clean, the bus resistance is nominal, the fault is stable and confined to one module's functional domain, and disconnection testing points at a single unit, you have a module candidate. That is the point at which shipping a part makes financial sense.
If you want that logic laid out from the other direction, how to know which module failed before you ship it walks through the same decision from the module side.
When it really is the module — including because of the rodent
Two honest caveats.
First, harness damage and module damage are not mutually exclusive. Outcome three above — a short to power — genuinely destroys modules. If a chewed bundle put battery voltage onto a five-volt sensor return or a bus line, the receiving module may well be dead, and the repair is both: fix the harness, then repair or replace the module. Repairing only the module guarantees you do it twice.
Second, plenty of module failures have nothing to do with rodents at all. Thermal cycling fractures solder joints, water intrusion corrodes boards, and voltage transients kill drivers. Once the harness is genuinely ruled out, bench work is the right answer, and it is usually far cheaper than replacing a module outright.
The bench services that come up most often after a rodent job are ABS module repair at $499 when an EBCM took the hit, GM BCM standalone clone at $199 when a body control module has to be transferred onto a replacement unit, and Chrysler TIPM repair at $299 for the integrated power module that so often sits right where a nest ends up. If you genuinely cannot tell what is wrong with a part, bench evaluation at $150 exists for exactly that. The full mail-in process is at how it works.
Ship USPS to PO Box 120241, Arlington, TX 76012, or UPS and FedEx to 1009 Oakwood Ln # 120241, Arlington, TX 76012 — couriers cannot deliver to a USPS PO Box. All work is performed at the Arlington workshop; Auto Module Lab is nationwide mail-in only. Return shipping is paid by you and chosen at checkout, from $29.95. Key, immobilizer, and security-related work requires proof of ownership.
And to be completely clear about scope: we can restore a module. We cannot repair your vehicle's wiring harness. A perfectly programmed module installed into a chewed harness will present exactly the same symptoms it did before, and that is a genuinely miserable outcome for everyone involved. Rule the harness out first.
The insurance angle
This is worth thirty seconds because most people do not know it.
Rodent damage to a vehicle is generally not covered by collision coverage, but it is commonly covered under comprehensive coverage, which is the part of an auto policy that handles non-collision losses — theft, weather, falling objects, fire, animal damage. The Insurance Information Institute publishes plain-English explanations of what comprehensive covers, and reports that roughly eight in ten insured U.S. drivers carry it. Coverage details, deductibles, and how a claim affects your rate vary by carrier and by state, so confirm with your own insurer before assuming.
The practical implication matters: harness repair on a badly chewed vehicle is labor-intensive and can run well past the cost of the modules involved, so a claim is often worth making. It is also the kind of bill most households are not carrying cash for — annual consumer surveys published by AAA have repeatedly found that roughly a third of U.S. drivers could not pay for an unexpected vehicle repair of about $1,000 without taking on debt, and a multi-day harness repair plus electronics lands comfortably above that. Document everything before you clean anything up — photograph the nest, the droppings, the chewed wires in place, and the fault list on the scan tool. Insurers assess animal-damage claims on evidence, and evidence you swept into a trash bag no longer exists. The same documentation logic applies to any claim involving replaced electronics; what to know about insurance claims for stolen or vandalized vehicle modules covers how the module-replacement side of a claim tends to work.
Prevention, briefly
Once you have fixed it, keep it fixed.
Park indoors where possible and avoid leaving a vehicle stationary for long stretches in cold weather. Remove food, wrappers, pet food, and birdseed from the vehicle and from the space around it. Keep the parking area clear of stored cardboard, wood, and clutter that gives cover. Open the hood periodically on a stored vehicle and look. Rodent-deterrent tape, ultrasonic devices, and scent repellents have mixed and largely anecdotal results, so treat them as supplements rather than solutions. Traps placed around the parking area, checked regularly, remain the most reliable approach — CDC and state extension guidance on rodent control is more useful here than anything the automotive aftermarket sells.
If your vehicle has already been chewed once and it lives in the same place under the same conditions, assume it will happen again unless something about those conditions changes.
Frequently asked questions
Can rodent-chewed wiring really cause multiple warning lights at once? Yes, and it is one of the most reliable signatures of harness damage. A single chewed CAN-H or CAN-L wire disables communication for every module on that bus segment simultaneously, so ABS, airbag, traction, and powertrain warnings can all illuminate together from one physical fault. A genuine module failure almost always affects one module's functional domain, not four unrelated ones.
What should the CAN bus read at the diagnostic connector? Approximately 60 ohms between CAN-H and CAN-L with the ignition off and the vehicle asleep, because the two 120-ohm terminators defined in the ISO 11898 standard sit in parallel across the bus. Around 120 ohms suggests one terminator or one bus end has been lost; a very low reading suggests the pair is shorted together; an open reading suggests the pair is severed. A reading that changes when you flex the harness is a confirmed wiring fault.
Will replacing the module fix a rodent problem? No. If the fault is in the harness, a new or reprogrammed module will present exactly the same symptoms as the old one, and if the damage includes a short to power the replacement can be destroyed the same way the original was. Repair the harness first, then evaluate whether the module also needs work.
How do I know whether the module was damaged as well as the wiring? The strongest indicator is evidence of a short to power — battery voltage reaching a low-voltage signal or bus line. After the harness is repaired, rescan: if a specific module still fails to communicate or fails self-test with the wiring verified good, it is a genuine module fault. Bench evaluation is the definitive answer when in-vehicle testing cannot separate them.
Does insurance cover rodent damage to a car? It is commonly covered under comprehensive coverage rather than collision, since comprehensive handles non-collision losses including animal damage. Roughly eight in ten insured U.S. drivers carry comprehensive according to Insurance Information Institute reporting, but deductibles and rate impact vary by carrier and state, so confirm with your own insurer and photograph everything before cleaning up.
Why do rodents chew wiring at all if they do not eat it? Rodent incisors grow continuously and must be worn down, so gnawing is a physiological requirement rather than a feeding behavior. Wire loom and insulation are the right hardness, and they are conveniently located inside a warm, sheltered space that also supplies nesting material. Whether bio-derived insulation is additionally attractive is disputed, but rodents chewed automotive wiring long before it existed.
Can Auto Module Lab repair my chewed harness? No. Auto Module Lab is a nationwide mail-in bench service for control modules only, worked at the Arlington workshop. Harness repair is in-vehicle work that has to be done where the vehicle is. Send us the module once the wiring is verified good, and not before.
The bottom line
Rodent-chewed wiring and a failed control module look the same from the driver's seat, and the cost of guessing wrong is a module you did not need plus a fault you still have. The distinguishing evidence is almost always physical and almost always sitting in the engine bay: a nest in the airbox, droppings on the battery, an acrid smell in the vents, bright copper where insulation used to be.
Work the sequence. Look before you test. Wiggle the harness with the fault live. Measure roughly 60 ohms across CAN-H and CAN-L at the diagnostic connector and treat any large deviation as a wiring answer. Isolate by disconnecting modules one at a time. Only when the harness is verifiably clean and the fault is stable and confined to one module should you spend money on the part.
If it does turn out to be the module, bench work is almost always cheaper than replacement, and ABS units, body control modules, and integrated power modules are all routine mail-in jobs. Ship USPS to PO Box 120241, Arlington, TX 76012, or UPS and FedEx to 1009 Oakwood Ln # 120241, Arlington, TX 76012, since couriers cannot deliver to a PO Box. Return shipping is paid by you, from $29.95.
But rule out the harness first. We can bring a module back. Nobody can bring it back into a wire that is not there.
Ship your module today
Flat-rate pricing, typical 24-hour bench turnaround, return speed your choice at checkout. Most jobs back on your bench within a week.